Medium Format Forum

Register a free account now!

If you are registered, you get access to the members only section, can participate in the buy & sell second hand forum and last but not least you can reserve your preferred username before someone else takes it.

Exposure problems with 500C/M

PROV

New Member
Hello all,

I am a new user to this forum so I will start by introducing myself, my name is James and I have owned a Hassy 500C/M for a couple of years now as well as a couple of digital SLRs (I recently sold my Canon 10D along with a Leica M2 to fund a purchase of a new Canon 50D which I am very pleased with). However, I still get most enjoyment from the Hassy. Developing the film in the darkroom and then scanning in the film to my Macbook Pro.
I do a little photography for friends and sometimes produce fantastic results using mainly Ilford 100 film and a Soligor Spotmeter to help me out with the settings.
The problem that I am encountering is that occasionally on some of the exposures the left hand side of the print looks a bit bleached as if it is getting over-exposed which ruins an otherwise very good shot. This doesn't happen on every shot but tends to be hit and miss with sometimes up to 50% of the shots affected. I have been dealing with this by cropping out the affected area but find that this limits me when I am thinking about shot composition. After development of the film it is apparent that the film is absolutely fine with no bleaching along the film edge but it is just the odd frame affected. I have no idea what I may be doing wrong or what I need to check short of sending the camera away for a full check. The camera seems in extremely good condition and as I say the problem is intermittent. Does anybody have any advice as to what I should be looking out for?

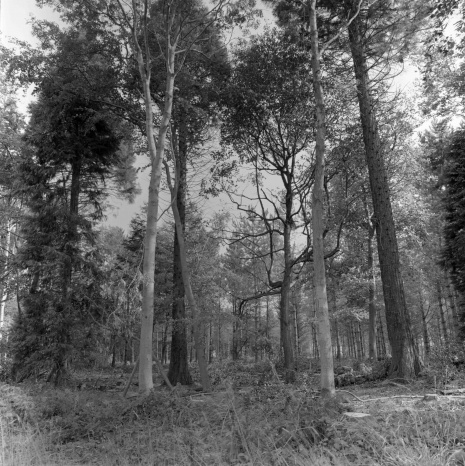
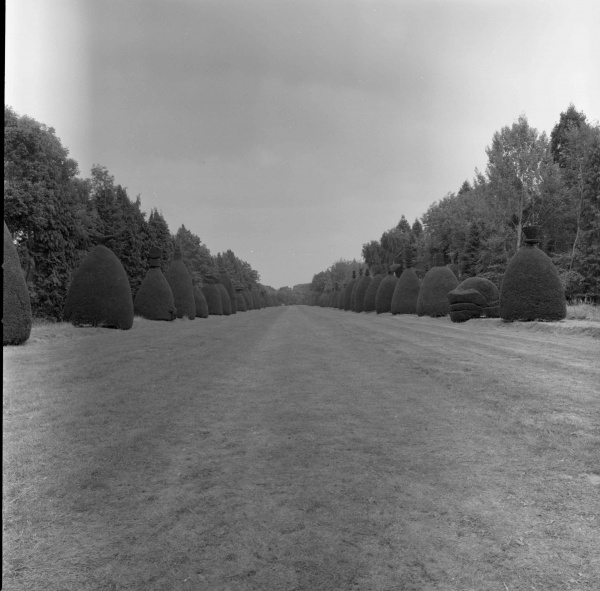
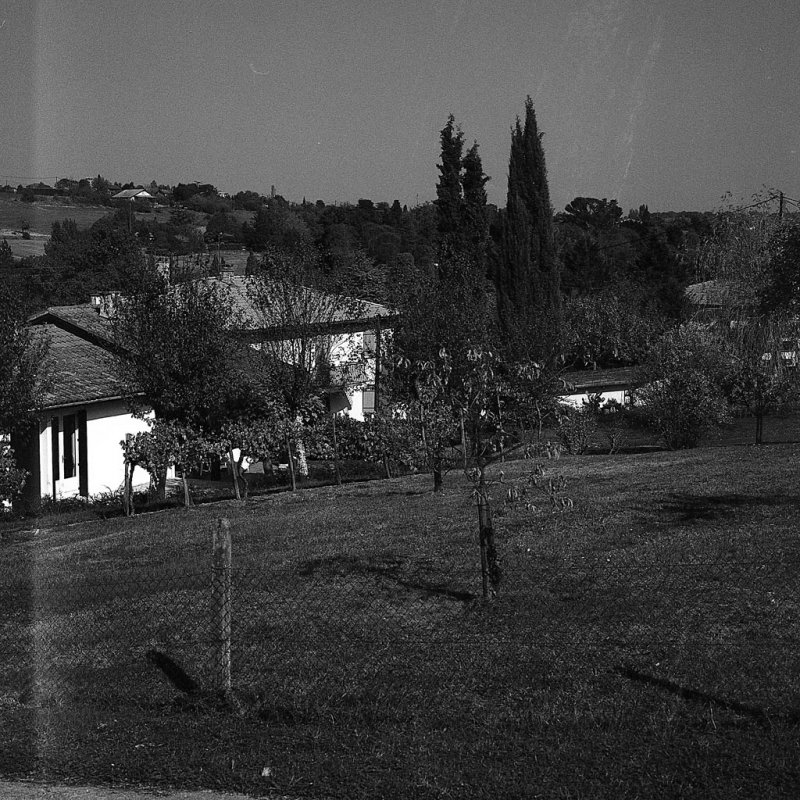
I have attached an example, the picture is not particularly good but you can probably make out the 'bleaching'

Regards

Prov
 

Attachments

  • Hassforum.jpg
    EXIF
    Hassforum.jpg
    115.9 KB · Views: 32
  • Hassforum.jpg
    EXIF
    Hassforum.jpg
    115.9 KB · Views: 31
Welcome to the forum!

I'd say it's likely your dark slide light seal is giving up. This is a piece of thin foam and an estar like plastic film that 'fill' the gap when you take the dark slide out. They can be changed easily, and cheaply, thankfully.

I don't know if it's me, but there looks like a thin band (darker) on the right hand side of the image...can't explain that one!

HTH
 
Thanks Sportback

Thank you very much, I suspected it might be something like that but didn't really know enough about the components. I have just had a look at Hasselblad Historical and they have a comprehensive section on replacing the foam and foil parts. Where would be a good place to get the spare parts?
As for the darker strip on the right-hand side, I'm not really sure about either. I've not really noticed any problems at all with the right hand side of the frames.

Thanks again, I'll let you know how I get on.

Regards

Prov
 
Pleasure :)

There's a lot of rubbish written about storing film magazines without the dark slide to prolong the life of the foam etc. but given the thickness (thinness?) of the slide itself, I personally can't see it makes a difference.

Coming back to MF photography after a 20 year 'lapse' I encountered this problem on all my film backs - principally due to the foam disintegrating into a gooey mess - some people suggest changing the foam every 3 or 4 years, depending on useage (Again, I can't see that using it makes a HUGE difference) while others suggest yearly changes - guess which group sells the kits?!
 
Although I should know better I also fell into the light trap trap recently.

The E12TCC film back I bought looked all right so I made the first pictures with that back on a camera fair
with a 203FE camera.

The first shots looked OK then the light leak spoiled all subsequent frames.
Lesson learned not only check the back for light leaks but if the back has unknown history remove the face plate
and see what the foam looks like.

The two part kit can be found at ebay, a number of repair companies sell those parts as well.
It only takes a small screwdriver of the instrumentmakers type and 10-15 minutes to change the seal parts.
I prefer original parts which should not cost more than 7-10 euro.
That is about 10-14 USD.


Paul


light leak.jpg

Massive light leak
 

Attachments

  • light leak.jpg
    EXIF
    light leak.jpg
    105.7 KB · Views: 22
Hi Paul/Sportback,

Thanks for your advice. I have ordered the replacement parts from Hasselblad UK and also had a good look at the film back. I took the lens off with the dark slide removed and with the auxiliary shutter opened I shone a very bright light in the dark slide slot but there was no sign of any of the light getting into the body. Or maybe it was just undetectable to my eye. I just thought that if this was the problem then I would probably have seen some evidence of this. I will replace the foam and the foil and see if that makes any difference.

Regards

Prov
 
Checking the seal is easier by exposing the frame area to light and looking at the opening for the slide for any light shing through.
 
Light leak?

Hi all,

Having replaced the complete light trap, I still seem to have the same problem. The old light trap foam had gone sticky and the new one seems to provide a much snugger fit for the dark-slide (although I have left the dark-slide out since I fitted it). I have just put a film through it (also trying out my new 50mm FLE lens). Again it only seems apparent on a few of the frames. I'm stumped! Any ideas?

Cheers

Prov
 
Why not show us what the problem looks like.
Without that information it is a blind guess as to what causes the problem.

Are you sure you fitted the foam part of the seal and the folded strip correctly?
 
Sure,

I will scan a frame in and post it. I have only just developed the film and I can tell just by looking at the negatives that there is still a problem. I am sure that I fitted the foam and the foil strip properly. I will post a picture as soon as it has dried and been scanned.

Regards

Prov
 
Here are a couple of the pictures I have just taken. Most of the frames on the roll are like the trees picture with only a minor discolouration on the left side of the frame. There are a couple, however, which show a marked light strip.

Prov
 

Attachments

  • 50mm FLE Pictures003 copy.jpg
    EXIF
    50mm FLE Pictures003 copy.jpg
    112.8 KB · Views: 33
  • 50mm FLE Pictures007 copy.jpg
    EXIF
    50mm FLE Pictures007 copy.jpg
    130 KB · Views: 27
  • 50mm FLE Pictures003 copy.jpg
    EXIF
    50mm FLE Pictures003 copy.jpg
    112.8 KB · Views: 27
  • 50mm FLE Pictures007 copy.jpg
    EXIF
    50mm FLE Pictures007 copy.jpg
    130 KB · Views: 26
Try to "experimentally" seal the magazine with power-tape or something similar. Shot one film and see if everything is ok. I had the same problems as you and I was never able to proper fix the light-leak. In the end I decided to go with the solution I just suggested.
 
Another option is perhaps inadequate/insufficient agitation in the developer? Do you inverse the tank, or twist the agitator?

Of course, this would then be evident on all frames - but possible less visible on some due to image density...just a thought.
 
Hi Sportback,

You might have a point there. I tend to do the agitation with a twister and to be honest I probably don't do it as much as the manufacturer recommends. I hadn't even thought that this might have that kind of effect. I will try the other (turning upside down) method and see if that makes a difference. Why would using the twisting method cause that effect. I may be 180 degrees out but surely not agitating correctly would lead to under-development and a darker strip down the side rather than a lighter area.

Standing by to be publicly humiliated......

Prov

The reason is that chemical (waste) compounds produced during development are quite heavy, accumulating in the bottom part of the tank. This can (will need to see if that it is your problem!) cause uneven development. Inverting the tank is to be prefered.

Wilko
 
I really don't think the people here are ready to publicly humiliate anyone!

I must admit I don't inverse, but I do give a thorough twist (5 seconds at least) every 30 seconds. (I'm talking about film development, not dancing here...)

Shoot a test roll and see if inversion/more regular twisting helps...luckily B&W emulsions are cheap enough to be able to do this kind of testing!!

Ian
 
Hello Prov,

Hasselbladinfo forum is proud to have friendly users that will think help and suggestions to cure a problem are more important than trying to be mr. know it all.

We all make mistakes a few of those may even cause some of us to get a red face but that is personal.
The problem your films show does not look like a light leak to me.
I put my money on the need to change the method of agitation while processing the film.

The proof of the pudding is in the eating.
As soon as a different processing method shows an improvement the cause is found.


Paul
 
Another option is perhaps inadequate/insufficient agitation in the developer? Do you inverse the tank, or twist the agitator?

Of course, this would then be evident on all frames - but possible less visible on some due to image density...just a thought.

I used to do the twist and always had this problem. It seemed like the frames on the end of the roll had less of this effect (maybe because of more movement through the developer). Since changing to the inverse and twist method, all rolls look great.

-Steven
 
Steven/Paul/Ian/Wilko

Thank you to all, what you have all said makes complete sense and was not an area I was looking at at all. I have been scratching my head over this one for some time now and couldn't for the life of me work out why there were inconsistencies with the results. Whilst I have not yet put another test film through I am almost certain that my agitation technique has been inconsistent (chasing my 2 year-old son away whilst I am developing being the main reason). I will eagerly put this into practice and let you know how I get on.

Thanks again for all taking the time to comment and offering the benefit of your experiences.

Prov
 
Prov

I've just been back and looked at your two examples and something I noticed bothers me a little. If you look closely at both images, there is a lighter area on both sides of the images. This is interesting to me, and makes me think inadequate agitation would be a more likely cause.

Further to this, I was able to experiment a little today as I exposed an entire film to test development times. I have been given 20 rolls of Agfapan APX 400s and I have no personal development info so I shot a roll from EV 11 thru EV 17 and processed it for 12 minutes in T-Max 1:4. I agitated with the 'stick' rather than inversion and I found a similar effect to yours, but the opposite - this was a darker banding (See example) and very marked, but only on frames 2 & 4.

This film surprised me: firstly the backing paper is like stiff cartridge paper (Heaven knows what my A12 thought of that) and secondly the film itself is a lot thicker than I'm used to. Even dry the damn thing curls like mad!

Back to the processing, I can think of only one reason for the banding, that the inherent curl of the film forced the inside (emulsion) onto the plastic spiral which prevented it being completely covered in developer, or at least, not for the entire development time.

I'd be interested to hear any other opinions on this film, and in particular, small tank processing.

Ian

(Please note this example was 1,5 stops under-exposed: it was a test, after all....)
 

Attachments

  • 253-T28-004 EV 15,5 r 200.jpg
    EXIF
    253-T28-004 EV 15,5 r 200.jpg
    379.4 KB · Views: 31
  • 253-T28-004 EV 15,5 r 200.jpg
    EXIF
    253-T28-004 EV 15,5 r 200.jpg
    379.4 KB · Views: 31
Back
Top